2026-11-13 20:16:19
How to Size a Teak Tree Bench for Your Tree and Garden Space
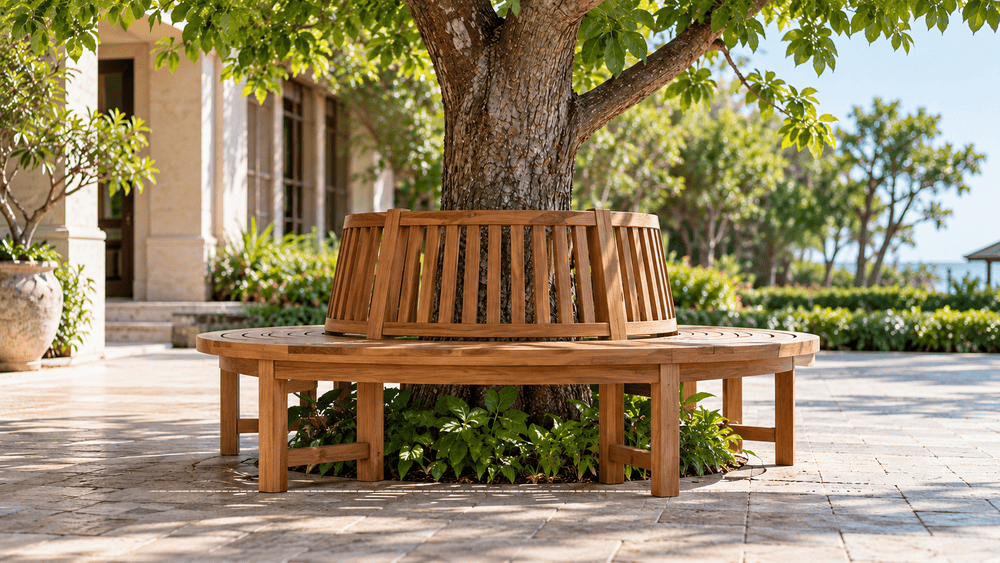
To choose the right teak tree bench size, follow these six steps:
1.Measure the tree trunk where the bench will be installed.
2.Check for uneven shapes, protrusions, or a leaning trunk.
3.Compare the trunk measurements with the bench's inner opening.
4.Leave enough clearance for future tree growth.
5.Measure the available garden space around the tree.
6.Check the ground condition and assembly access.
A tree bench needs enough room around the trunk without taking up too much garden space. Measuring only the trunk's diameter may not be enough, especially if the tree has a wide base or grows at an angle.
Before choosing a model, take measurements at the intended location and compare them with the supplier's product dimensions.
Note: These measurements are intended to help assess furniture fit, not tree health or structural safety. If the trunk, exposed roots, or ground conditions make installation difficult, consult a qualified arborist or landscape professional. Avoid cutting roots or altering the tree simply to accommodate a bench.
Measure the Trunk Where the Bench Will Sit
Measure the trunk at the heights where the bench's inner frame, seat, or backrest will surround it. A tree may be wider near the ground, so one measurement higher up may not show the space required.
1. Identify the Relevant Measurement Heights
First, decide where the bench will stand. Then check the proposed seat and backrest heights against the tree trunk.
Take measurements at each height where the furniture could come close to the bark. Write down those heights so the supplier knows which part of the tree was measured.
2. Record Circumference and Direct Width Measurements
Wrap a measuring tape around the trunk to record its circumference. For a roughly circular trunk, divide that measurement by 3.14 to estimate the diameter.
Diameter ? Circumference ÷ 3.14
For example, a circumference of 94 cm gives an estimated diameter of about 30 cm. Also measure the width directly across the trunk. This helps identify differences that a circumference calculation may miss.
Check for Irregular Shapes and Leaning Trunks
Not every tree has a round, straight trunk. Some have wider sections, exposed protrusions, or a noticeable lean. These features can affect how the bench fits, even when the calculated trunk diameter appears suitable.
1. Measure from More Than One Direction
Measure the trunk from the front and side, particularly where it looks oval or uneven. Record the widest sections rather than relying on an average diameter.
Take photographs with the measuring tape visible. This gives the supplier a clearer view of the trunk's actual shape.
2. Check the Trunk Across the Bench's Height
A leaning trunk may fit through the lower opening but come too close to the backrest. Check its position at each relevant height, including any sideways movement. If the tree has several stems, measure the space occupied by the entire group rather than treating it as one round trunk.
Match the Measurements to the Bench's Inner Opening
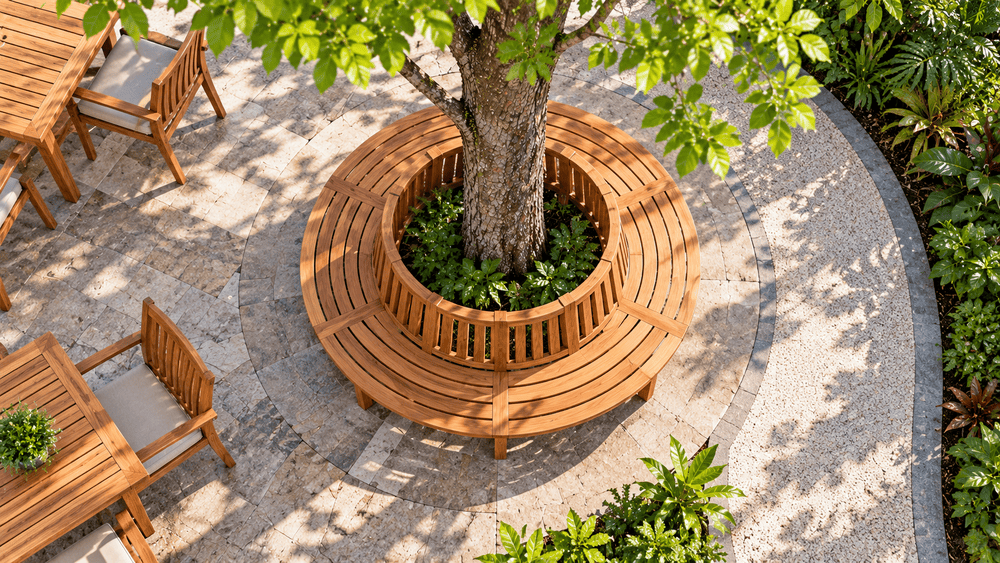
Once you have the trunk measurements, compare them with the bench's inner opening. The overall size of a tree bench tells you how much garden space it occupies. It does not tell you how much room is available for the tree.
1. Separate Inner Opening from Overall Dimensions
For a circular tree bench, the internal diameter describes the opening around the trunk. The overall diameter includes the seating and outer frame. For other shapes, check the clear width and depth of the opening.
You can browse Kusuma Furniture's teak tree bench models before requesting the dimensions of your preferred design.
2. Check the Narrowest Components
Ask for a product drawing that shows the inner opening, including any rails or supports extending toward the trunk. Compare these measurements with the tree's widest sections at the same heights. Use the table below to record the results.
| Measurement Height | Trunk Width, Front to Back | Trunk Width, Side to Side | Bench Opening | Clearance to Confirm |
| Lower frame | Measure on site | Measure on site | Supplier drawing | Check available gap |
| Seat level | Measure on site | Measure on site | Supplier drawing | Check available gap |
| Backrest level | Measure on site | Measure on site | Supplier drawing | Check available gap |
If any measurement is missing, ask the supplier before ordering rather than estimating the fit from product photographs.
Allow Space for Future Tree Growth
A tree bench should have enough clearance for the trunk as it grows. A bench that fits closely today may become too tight later. The amount of space needed depends on the tree and how long you intend to keep the bench in place.
1. Keep Current Fit and Future Clearance Separate
Record the trunk's present dimensions first. Then discuss how much additional clearance should be allowed for future growth. There is no single clearance measurement that suits every tree. Avoid choosing a fixed gap without considering the species and growing conditions.
2. Identify When Landscape Advice Is Needed
If you are unsure how much the trunk may grow, ask an arborist or qualified landscape professional.
Professional advice is also useful when the tree has an unusual trunk shape, exposed roots, or signs of damage. The supplier can then use the recommended clearance when reviewing the bench dimensions.
Check the Overall Bench Size and Surrounding Space
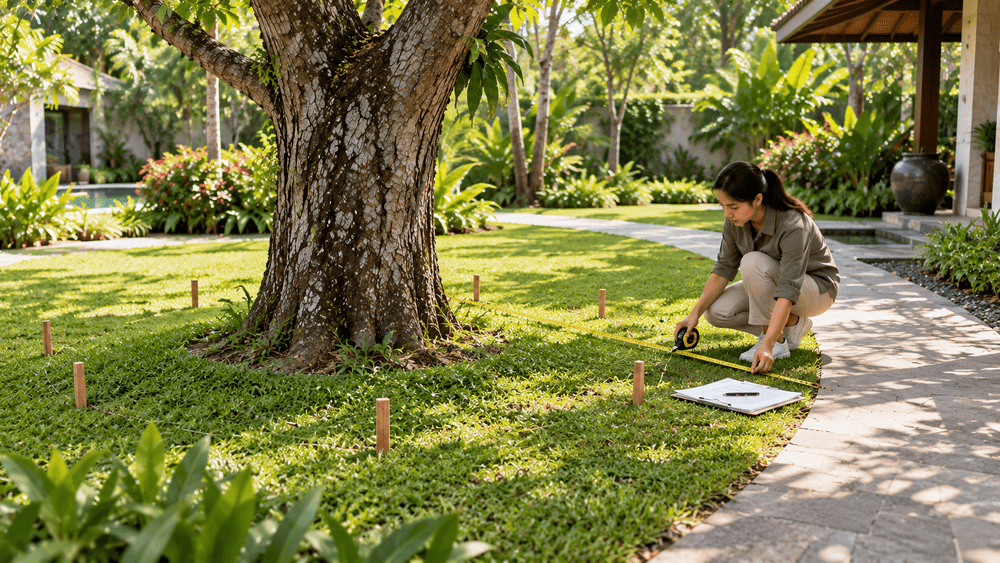
The bench must fit the garden as well as the tree. Measure the available area before choosing a model, including nearby paths, planting beds, and other furniture.
1. Mark the Actual Product Footprint
Use the bench's overall width, depth, and shape to mark its position on the ground. Removable markers or a measuring tape can help you see how much space the furniture will occupy. Include any parts extending beyond the seat, such as legs or backrest sections.
2. Check Space During Use
Allow room for people to sit, stand, and walk around the bench. Check whether seated users' legs could extend into a nearby pathway. For hotel gardens or public areas, consider the project's accessibility and circulation requirements. A bench may fit around the tree but still be unsuitable if it blocks an important walking route.
Confirm Ground Conditions and Assembly Access
Before ordering, inspect the ground where the bench will stand. The surface needs to support the furniture securely, and the bench must be able to be assembled around the existing tree.
1. Assess the Intended Support Points
Look for uneven ground, exposed roots, loose soil, or other obstacles near the planned bench legs. Mark the intended support points and photograph any problem areas. Do not cut roots or dig around the trunk simply to make the bench fit. If the ground needs preparation, seek advice on a suitable installation method.
2. Confirm How the Bench Is Assembled Around the Tree
Ask the supplier whether the selected model comes in sections and how those sections are joined. Check the size of each component, delivery access, and the space needed during assembly. Do not assume every tree bench uses the same construction method. These details matter when installing furniture around a large existing tree.
Prepare a Measurement Brief for Your Supplier
After completing the six checks, put the measurements and site information into one document. The supplier can use it to review the proposed fit and identify anything that still needs checking.
Include the following details:
1.Tree photographs: Front, side, and wider views of the location.
2.Measurement heights: The positions where trunk measurements were taken.
3.Trunk dimensions: Circumference and direct widths in different directions.
4.Trunk shape: Any protrusions, leaning sections, or multiple stems.
5.Growth clearance: The proposed allowance and any professional advice received.
6.Available space: Overall bench footprint and surrounding access.
7.Installation conditions: Ground surface, exposed roots, and assembly access.
8.Selected model: Product code and dimensions requested from the supplier.
Review the information before requesting a quotation. If the measurements are incomplete or the site has unusual conditions, resolve those questions first.
FAQ About Teak Tree Bench Sizing
These answers cover a few common questions about measuring trees and choosing a suitable bench.
1. Can I Choose a Tree Bench Using DBH Alone?
No. Diameter at breast height (DBH) measures a tree at a standard height, which may not match the bench's position. Measure the trunk at the heights occupied by the furniture.
2. Is Circumference Divided by 3.14 Enough for an Irregular Trunk?
No. The calculation estimates diameter for a roughly circular trunk. For irregular shapes, also measure the widest sections directly and provide photographs.
3. Can a Tree Bench Fit Around Several Stems?
Possibly, depending on the bench opening and the arrangement of the stems. Measure the complete area occupied by the stems and compare it with the product drawing.
4. Does a Larger Inner Opening Always Solve the Problem?
No. The bench must also fit the surrounding garden space, stand securely, and allow proper assembly. A larger opening alone does not guarantee a suitable installation.
5. What If the Trunk Touches the Bench Later?
Ask a qualified professional to assess whether the bench should be repositioned, adjusted, or removed. Do not cut or modify the tree to create more space without appropriate advice.
Conclusion
Choosing the right teak tree bench starts with measuring the tree at the points where the furniture will surround it.
Check the trunk's shape, compare its measurements with the bench's actual inner opening, and leave suitable space for growth. The overall footprint, ground conditions, and assembly requirements also need to fit the location. Once you have these details, send them to the supplier before deciding on a model.
Find a Teak Tree Bench That Fits Your Garden
Planning to add seating around a tree in your garden, resort, or outdoor project? Explore Kusuma Furniture's Tree Bench collection and choose a model you would like to discuss. Send Kusuma Furniture your tree measurements, site photographs, and preferred product code to review the dimensions, assembly requirements, and quotation.